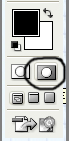
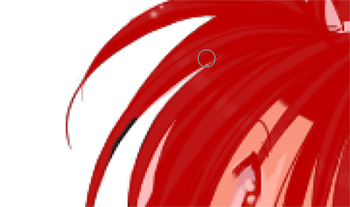
For the effect, I've decided I wanted a black border around the picture. Merge all your layers, from the lineart to the last colored layer, except for the 'white' layer back in the beginning of the tutorial. Take your Wand Tool and select all the negative space. Let's make things easier. With everything still selected, click on the Quickmask Button on your toolbar (click for image). Quickmask is a very very useful tool when it comes to make precise selections. Everything that you DIDN'T select with your Wand tool will be tinted red. (your character will be tinted red) You'll also notice that the colors on your palette automatically turn to black and white. Take your Brush tool and start brushing out all the areas you don't want. White will ADD to the selection area, and black will SUBTRACT from the selection area. (click for image)
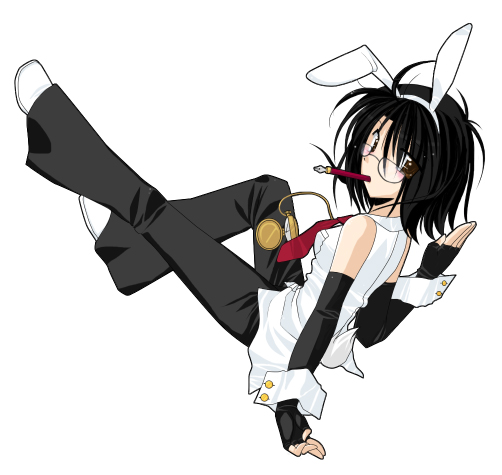
Once your done, click back into Standard Mode (it's the button next to Quickmask) and you'll see that the mask is changed into selection form. Inverse the selection by pressing Shift+Ctrl+I. Make another layer underneath your character layer (with all the colors and lineart and good stuff) and name it whatever you want (I called mine 'lines'). Make sure your new layer is highlighted. Go to Edit>Stroke.... Choose how thick you want your line to be (I chose 2 pixels) and click OK. Now a nice line should be stroked around your image.
move onto step .o5 >>