
Now it's time for the fun part. :D Coloring!
I will assume you have pretty basic knowledge of Adobe before you start this. So my steps will fly by pretty quickly. I would also like to say you do not need a tablet for this tutorial. I use a mouse. It's never failed me before.
Remember what I said in Step o1 about coloring styles. Visualize what style would be BEST for your picture. In this case, my picture is a bit cartoony and dynamic, so I've decided to use cell-shading to color.
Create a layer under your 'lineart' layer. I always start with the skin when I'm coloring. (actually, I colored the eyes first in this picture because they were bothering me >_>) Pick a base color for the skin and start coloring. It doesn't matter if it goes out of the lines or not. We can always erase it afterwards. Next, pick a darker shade for the shading. Pick a light source, imagine where the shading will be, and start coloring. You can either use the polygon tool to get precise, crisp shading or you can just do it by hand. It doesn't really matter. Also add in some light spots as well. When you're done, erase all the coloring you don't want. (click for results)
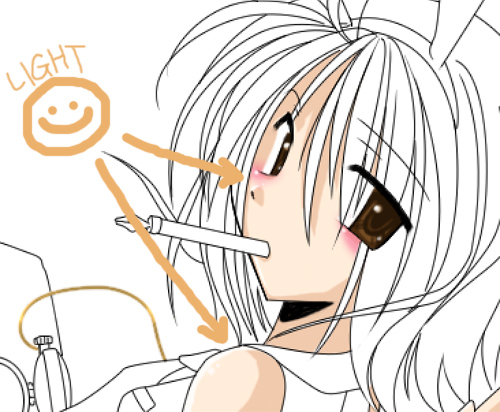
You'll notice from the example, On this layer, I added some 'blush' as well. Click on the 'Preserve Transparency' button in your Layers window. It's the first button to the left. Take a soft, medium-sized brush and a light pink color and shade in the blush. (It also might help to lower the opacity and flow of the brush).
Repeat this process with the rest of your layers, adding your next layer under the previous. Keep in mind where the light source is when you shade. (I recommend using a different layer for each color, though this will take more memory). Visualize as you go; keep your mind open and try to concentrate!
Once you're done, you'll have something like this.

I added in some touch-ups as well, placing a lower hairline on the forehead, adding the shine to the eyes, ect. (I placed white dots randomly, just because I see it in a lot of Japanese art) (click for example 1 and 2) Keep going onto the next step...


move onto step .o4 >>