MESSA'S TUTORIAL
|
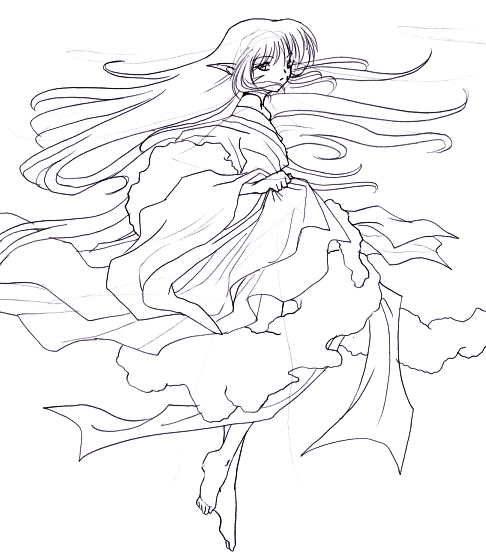
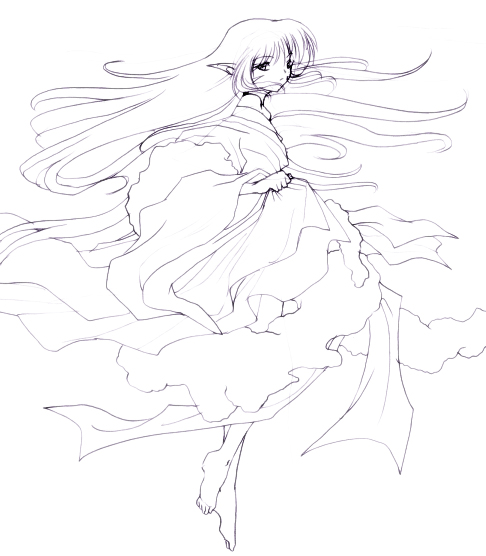
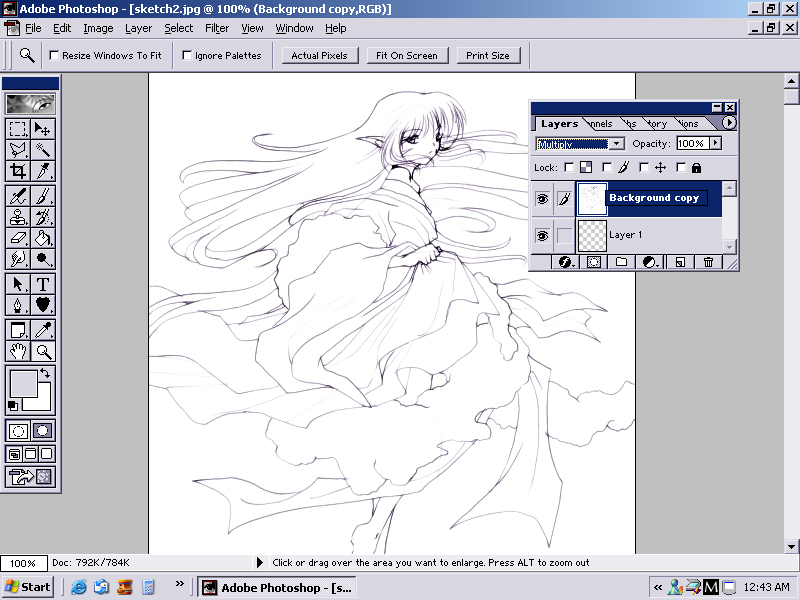
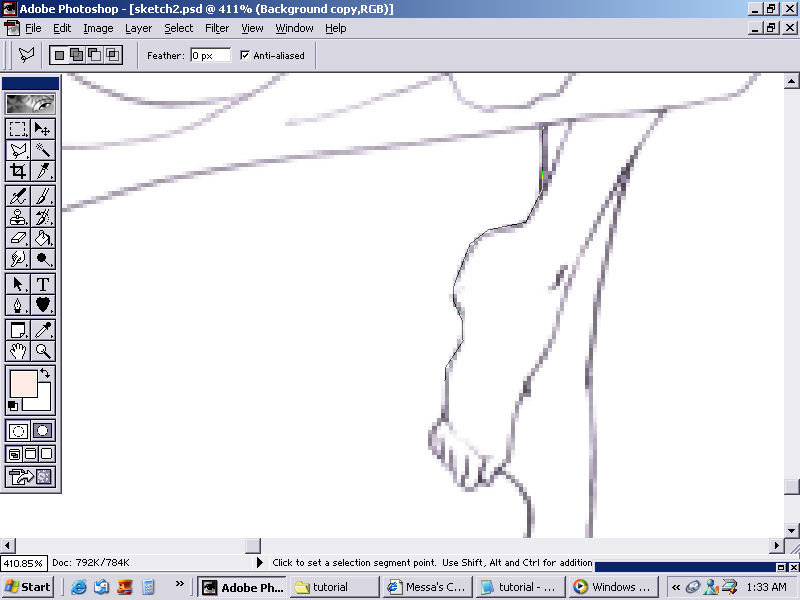
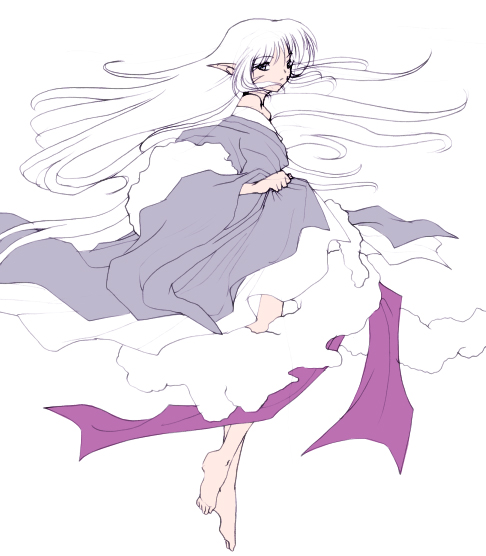
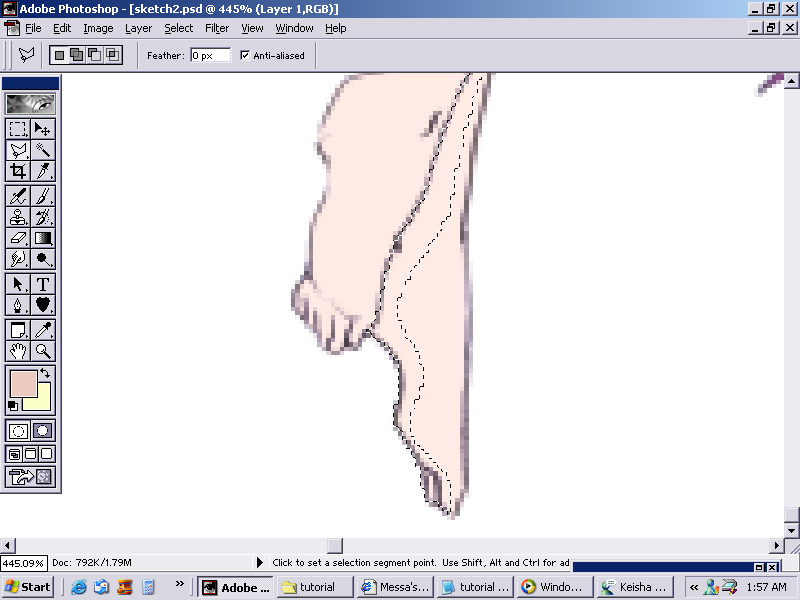
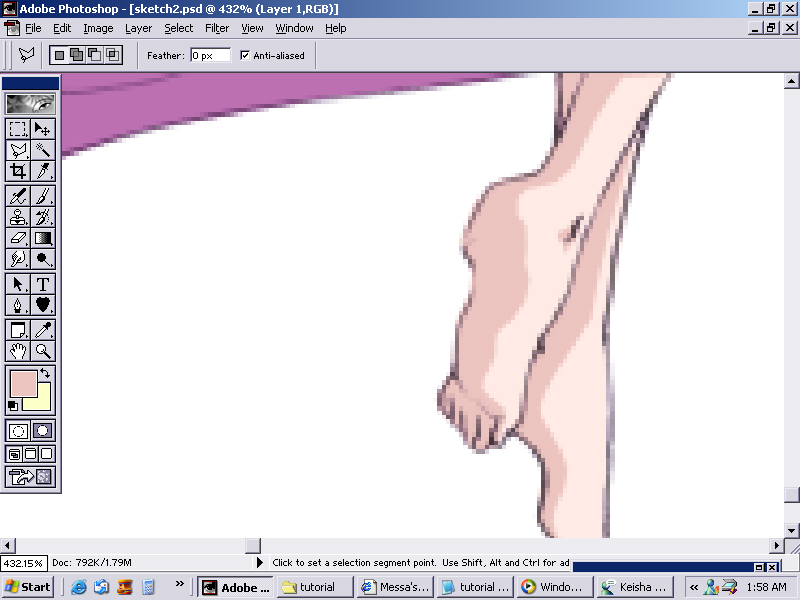
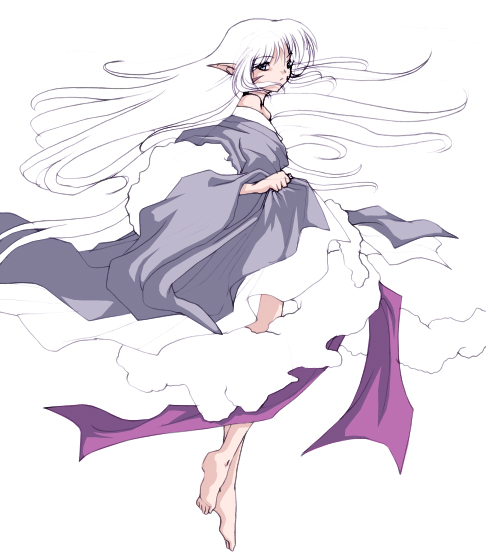
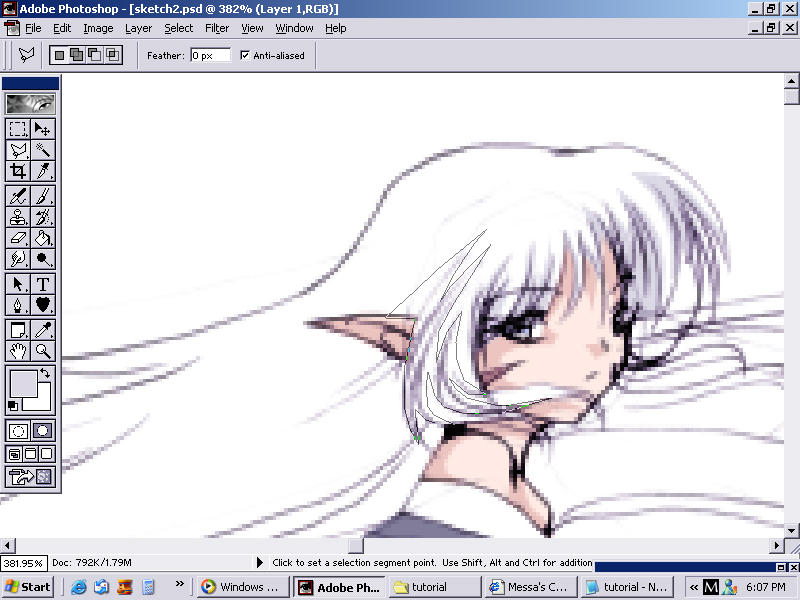
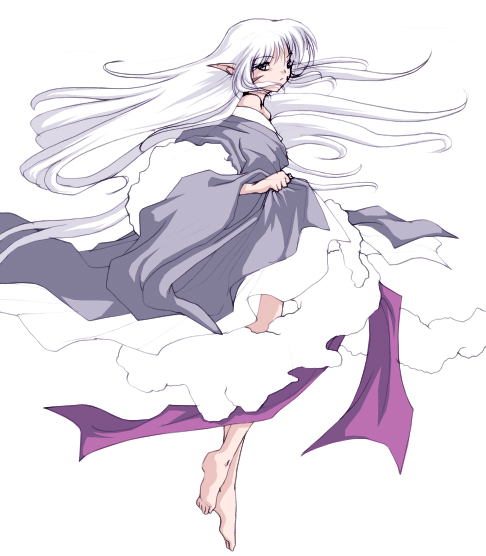
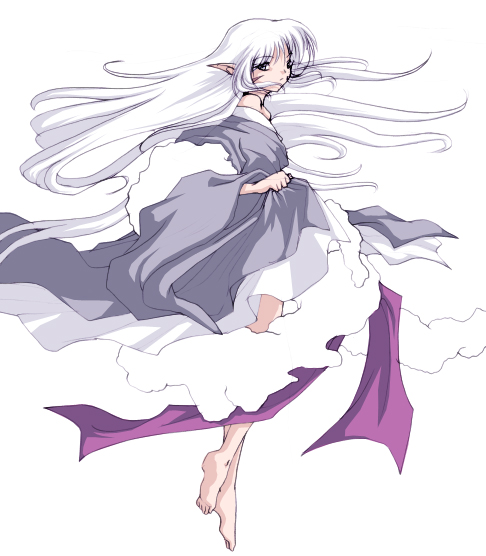
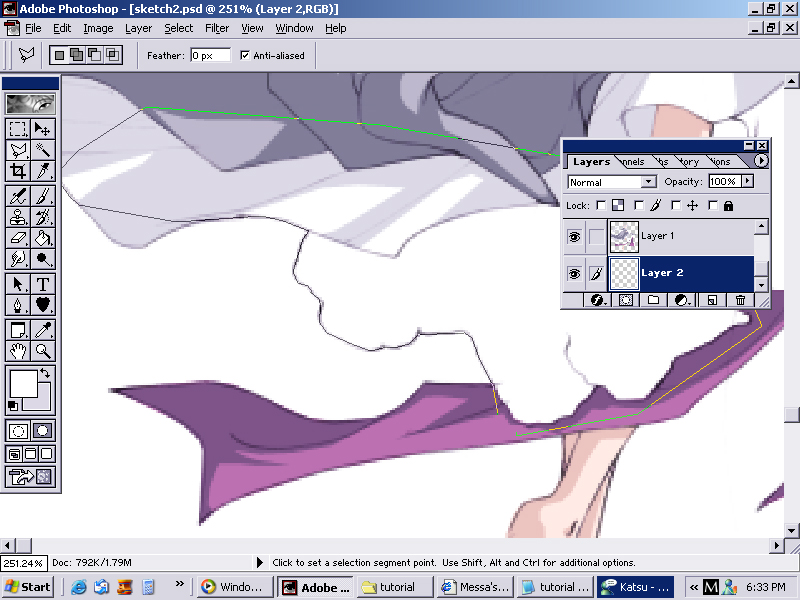
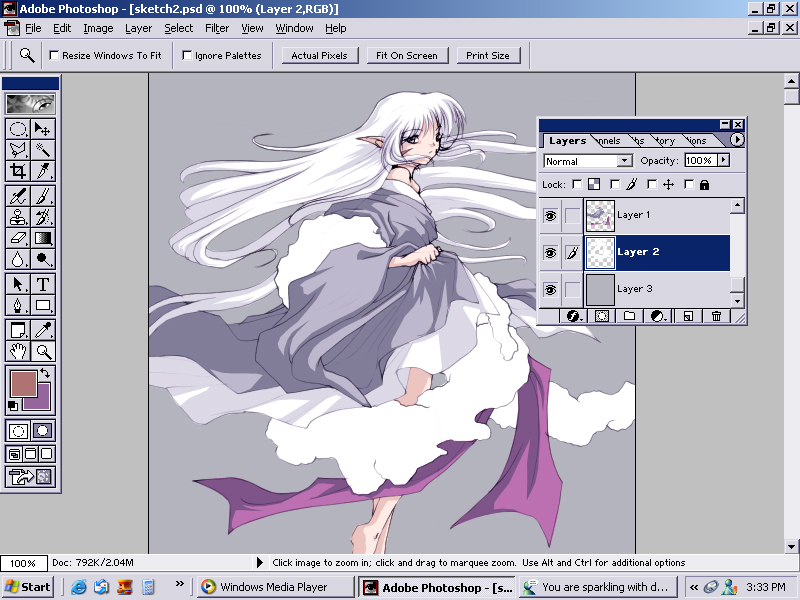
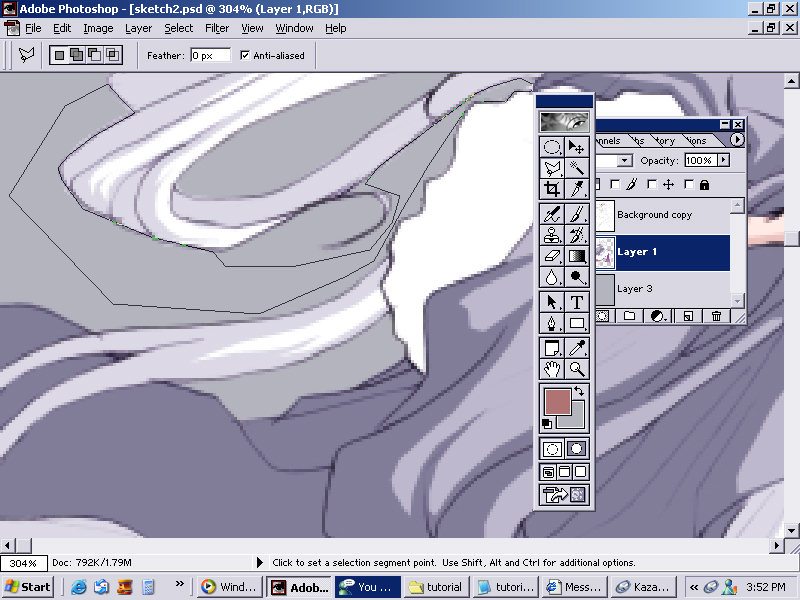
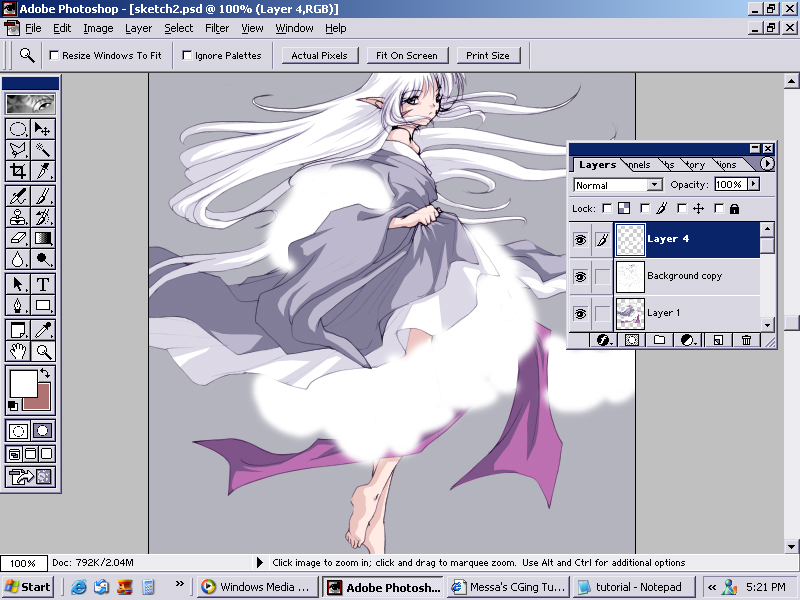
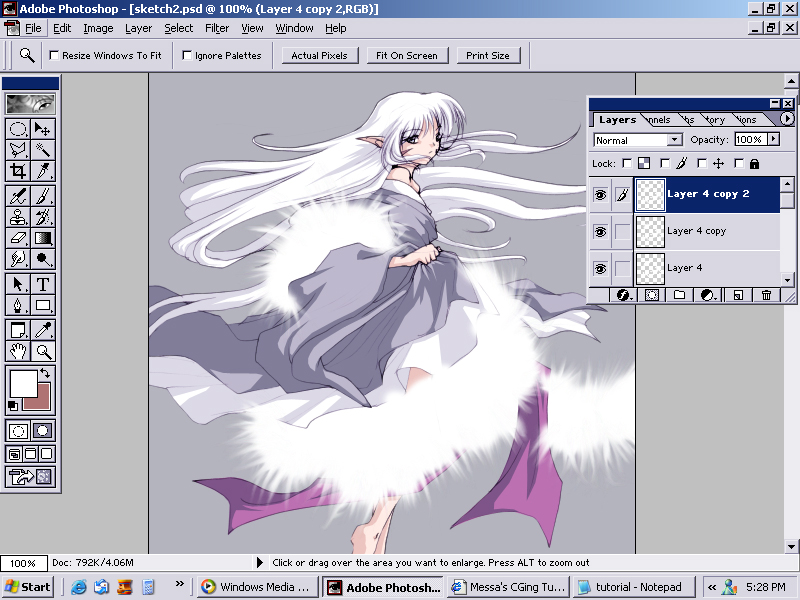
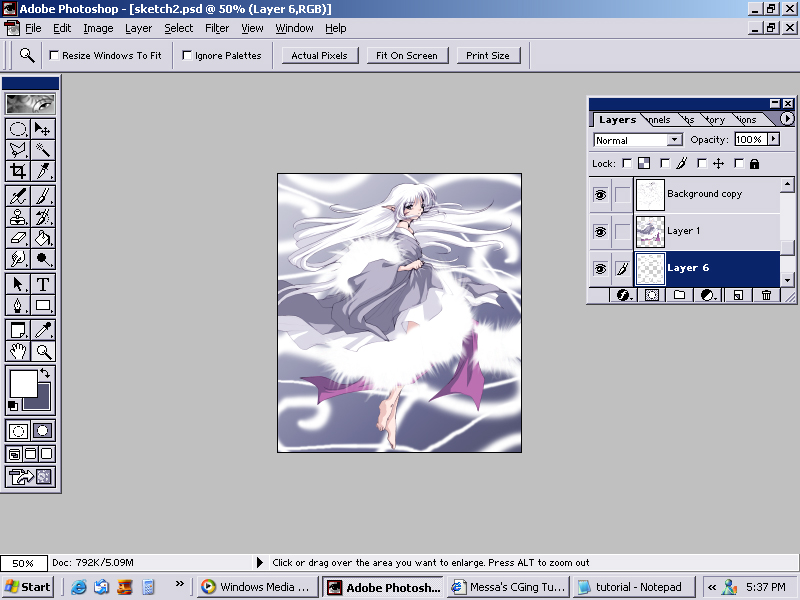
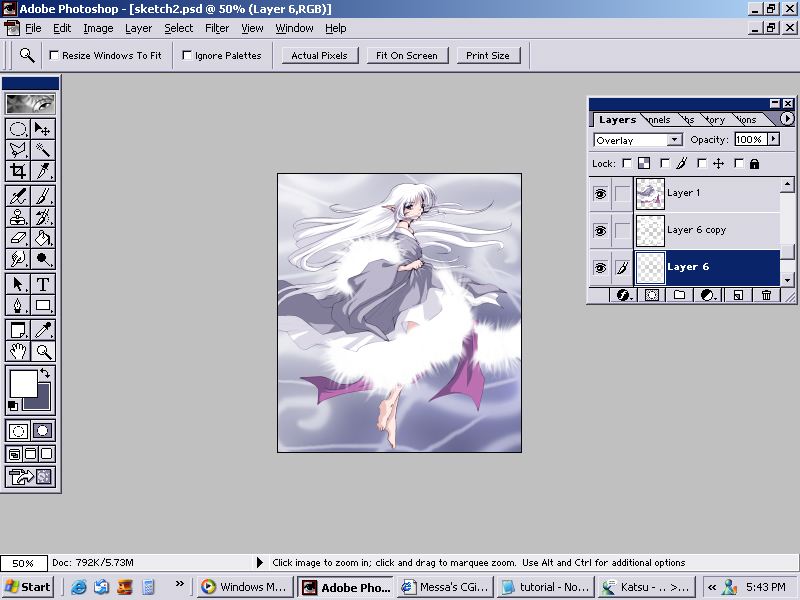
Now, most of you asked if I could make a CGing tutorial. I did make one about a year ago and posted it on Feudal Revolution buuuuut.. I have a feeling it's out-dated. XD SO! I am making a new one, and pleasepleaseplease pay attention and follow along. Don't get lost during this thing cause I don't want to answer questions when this thing is done. Thank you! You're going to be needing a few tools: • Polygonal Lasso Tool If you aren't familiar with these, then I suggest you get familiar with them before you start my tutorial. I am not answering questions on these either, so please test them and learn as to what they do before you start. The PLT will select, right-clickable mouse will fill, your layers will be important, and so will your colors. Get it? Got it? Good! We need a sketch first, but you need to draw it, right? Here's what I started out with. Maybe this will give you an idea as to how I draw. part 1 Okay, we have our sketch. We need to make it pretty though! Wanna know what I do with mine once I've got them cleaned up? Well, basically, all you have to do is take your finished sketch, and change the hue/saturation by going to Image > Adjust > Hue/saturation. Set it to colorize and preview. Now play around with your sketch and make it a nice pretty color. Don't ever darken it. Once you have it set to a hue, go to your Layers Palette/Window. Duplicate the background layer. Now set a Filter > Blur > Guassian Blur to your background copy layer. Make sure it's at 1.8 pixels. Then, set the background copy layer to Hard Light. Flatten layer. Voila. Now that you have your sketch finished and prettied up for coloring, we get to the good stuff and the actual point of this tutorial. I'm lazy, so this is going to be in cel-style if you don't mind. :D For soft coloring I use my tablet, and a lot of you aren't that priviledged, so I'm appealing to the poor people such as myself. Y'ooookay, so. To set this thing up. Open your layers palette. Right click and duplicate your background layer. Delete your background layer. Set your background copy layer to multiply. Then click the little sheet of paper at the bottom of your layers palette and it will make a new layer. Drag that under your background copy layer. Explanation: basically what this does is it makes all that white invisible so when you color on Layer 1, you see your colors under your lineart. Peachy? Peachy. This is what your stuff should look like now Man, I'm tired. Anywho, activate your Layer 1 layer and let's boogie. First thing's first. Click on your polygonal lasso tool. Zoom in to about.... 400-450% of your image (if you're starting out as small as I am). Now, trace your lineart, or the area you want to color. Once you've traced the entire area, right click and hit fill. Make sure you have the right color ontop for the color you want to fill in. Do this for all of your base colors. Lookie! I'm done! Oh yeah.. and make sure you SAVE OFTEN. Okay, you have your base colors, right? For those of you who made it this far and are.. somehow magically reading all of this (I KNOW YOU AREN'T *WHAP* Pay attention!), we're going to start the shading. For each base color, find yourself a shade that's darker. Remember what I did to color the base colors..? .... :D .... Welcome to HFIL on earth. Do the same thing ONLY you are selecting the areas you want to be shaded. Do this for all your base colors, and then stop when you have the white areas left. Shadows Finished w/out the white Now, white is basically the same thing. A lot of people say they have trouble shading white, and I have no reason why they do. All you need to do is pick a light shade of color, prefurably that matches the picture, soo.. I'm going to use a light blue/purple hue: DCD9E6. All you have to do next is do what you did with the shades and just shade the white. I recommend doing the hair first. I congratulate you if you've made it this far. XD! SO! Onto the white in the clothes. The fluffy stuff will be last. Now the fluffy stuff. :D YEY~. This actually isn't that hard, but it's easier if you have a tablet. Ready? Set, go! Okay, we haaaaave.. to color the white in this picture sometime, so we'll do the fluff right now. Open your layers palette and make a new layer. Drop Layer 2 down under Layer 1. This is where you'll put your whites. To color your whites, you don't have to worry about going over the other colors, but you do need to stay in the general lines of the figure. I'll give you an example. If you want to do something that will help you GREATLY, I suggest this: Create a new layer AGAIN. Drag that layer under Layer 2 where your white is, and fill it with a relatively faded color, like B4B4BE, or something. This will show you what white you have left to fill in on your whites layer, or it also shows you if you've got color out of the lines. I have stuff out of my lines, so I'm going to zoom in once I've finished the white and erase all that garbage. But before I do that, I need to merge my layers. Go to your layer's palette and click on the eyeball box on your background copy layer and your Layer 3. This will hide the layers. SO! Now, all you gotta do is go to Layers > Merge Visible. Anywho, so.. yeah. Like I said before, zoom in and look for those spots where the color is out of the lines. Polygonal Tool around them and erase them by just pushing the delete button on your keyboard. Well, I'm done with that part. Don't know about you. :D! Onto the next thing! We're going to do something cool with the fluff. X3 Ready? Well, make a new layer above your background copy layer, name it fluff, then make your foreground color white: FFFFFF. Now, get your brush tool ready. Set it to around 21 pixels and make sure it's got the soft fuzzy edge. Go over the edges of the fluff with the brush like so: Do you have a tablet? No? Oh man, sucks to be you. o_o; You'll have to do this part by hand if you want to do this! *AHBAHAHAHAHA.* Okay so. Equip the smudge tool and set it to hard edges at 5 pixels, and then set the pressure to 80% and start a-smudging! To make your smudge appear better, duplicate the airbrushed layer before you smudge, and then smudge the top duplicated layer. Once you're done smudging, duplicate THAT layer. See how handy that colored background is? XD Okay, we're almost done! Let's get started on that background! I'm picturing a night BG with some pretty colorful energy sparklies around her, sooo.. let's change the background to a gradient blue. Foreground color: CECFDB, Background color: 535572. Now let's add some overlays. Grab your brush button, and set it to an soft-edge brush about 45 pixels in size. Make a new layer above the layer with your gradient background and make some swirly white stuffs. Next thing I did was duplicate that layer with the swirlies and then I guassian blurred the original layer a bigbig size, and then I overlayed that layer, and set the one above it to soft light. Now, to the good stuff. To make the sparklies, just make a new layer and get your airbrush tool ready. Set it to dissolve and the pressure to 2%. Move your mouse around the screen and then once you're done, filter guassian blur that to about 0.3. :3 Fun. If you want to do something else, like make the picture shiny, then flatten your layers and then duplicate your background layer. Guassian blur the top at about 2-3, and then set that to hard light or something! |