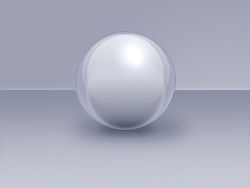
Step #1

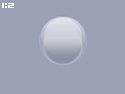
Start with making a new document around 250x200 in size; background color = #9CA0B3. Next thing to do is to make a black circle on a new layer that's 100x100 pixels. Now "select ---> modify ---> contract" the selection with 1 pixel, right click the selection and feather it with 1 pixel and press delete 3 times on your keyboard.


Step #2

Put an outer glow effect on the circle with these settings:
Blend mode: color dodge
Opacity: 100
Size: 10
Use my layer mask tutorial to make the area outside the circle invisible, remember to check "layer mask hides effect" in the layers blending options or it wont hide the effect.

Step #3

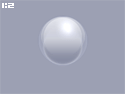
Make a round selection that's 77x79 in size, place it as shown on the image and use the "linear gradient tool" on a new layer and fill it (white to transparent) from edge to edge starting from the top, set the layer mode to "soft light". Duplicate that layer and press "ctrl+t", draw the left & right side 5 pixels closer to the circles edge.

Step #4

Duplicate the first white gradient layer you made, not the transformed one. Flip it vertically and move it to the bottom of the circle. Press "ctrl+u" and make the lightness value "-100" and set the layers opacity to 40%, then gaussian blur it with "radius: 2,0". Go to its blending options and apply an outer glow;
Blend mode: color dodge, opacity: 65, size: 0.

Step #5

Almost done now, just a few details left. Make a new layer, chose the "brush tool" and select the soft round brush size 9. Draw a simple diagonal line at the top of the circle where you want the glow to be, apply outer glow;
blend mode: color dodge, opacity: 50, size: 21.

Step #6

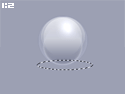
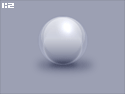
Now for the last step, a shadow. Make a new layer below all the others, make a selection like the one on the image to the left and fill it with black, gaussian blur that layer with "radius: 8,0". Set the layer mode to "soft light". Duplicate the shadow layer and press "ctrl+t", draw the lower right corner to the point where the center is of the selection, then move the content of that layer to right below the orb, set layer opacity to 70%.

Step #7 (optional)

You might want to fine tune some things after you are done, change the opacity on some layers... fiddle around with the blending modes... everything you feel is needed that makes it look better.