| deviantART Tutorial Submission by the-faun |
| Objective: The objective of this tutorial is to teach you how to achieve a photorealistic (or as close to as possible) iris for use in web or graphic design. |
|
|
| Difficulty: Intermediate. Basic Photoshop knowledge assumed. |
|
|
Step 1:
Open up your graphic editor (i will perform this tutorial using
Photoshop 6 therefore if you use a different version or program
you will simply have to translate as best as possible) and a new
image. The image should be at least 100*100 pixels for this tutorial
but this can be easily changed later. Use the circular marquee
select tool holding select to make it a perfect circle then fill with
black.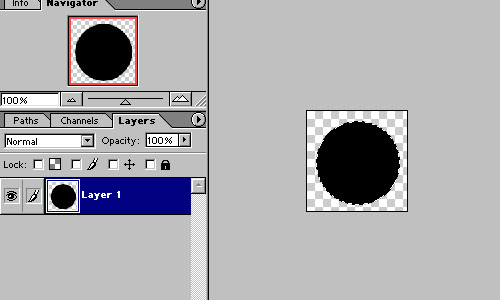
|
|
|
|
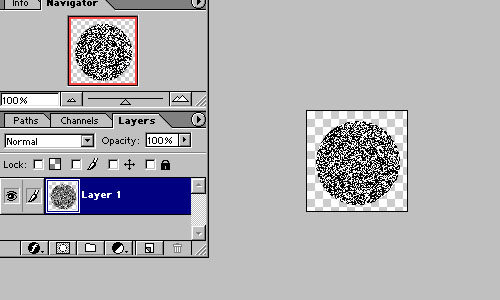
Step 2: Select Filter--Noise>Add
noise and put the setting to maximum with the setting on Uniform.
|
|
|
|
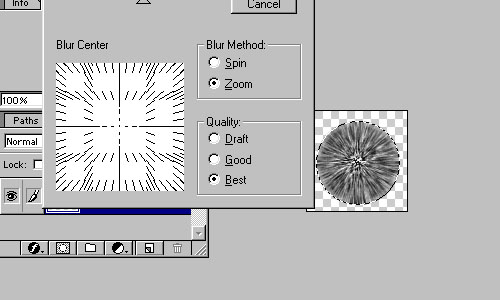
Step 3: Now go to Filter--Blur>Radial Blur and use the settings shown below (the amount of blur you use will depend on the image size and how you want the iris to look, i used about 60.)
|
|
|
Step 4:
With the iris still selected, use the airbrush to blacken the edges of
the circle until you are happy with the results.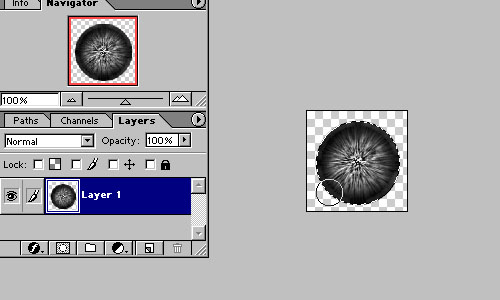
|
|
|
Step 5:
Now with a smaller brush size (still a soft brush) airbrush in the centre
of the eye to form the pupil, there should be a darkened shadow around
it as seen below, you can do this by simply clicking and holding in the
centre without moving the brush.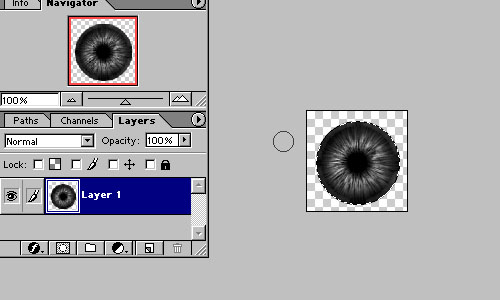
|
|
|
Step 6:
Use the dodge tool now to lighten one section of the iris, this section
will be the opposite side to your designated lightsource for your piece.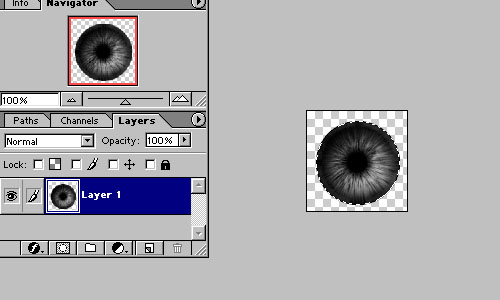
|
|
|
Step 7:
Now simply apply a light blur with the Blur Tool to get rid of any jaggies
and make the iris softer and more natural.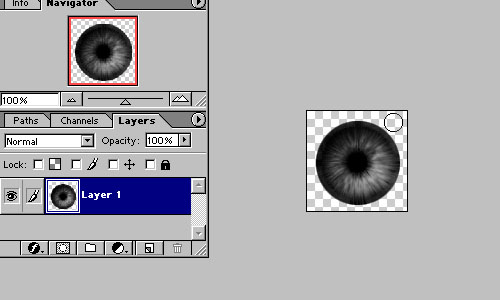
|
|
|
Step 8:
Create a new layer now for the highlight of the eye. Fith your airbrush
tool again (sill on black), click and hold on the point of your eye nearest
to the lightsource. Lower the size of the airbrush, change colourn
to white then click and hold on the same point. This will give you a
nice highlight that you can more around anywhere you want which has a slight
black shadow.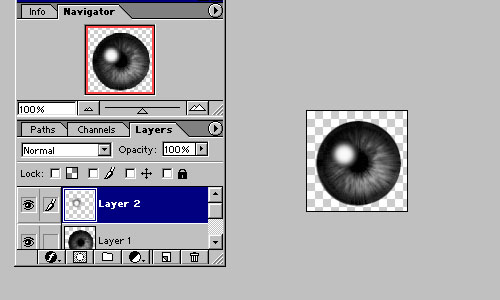
|
|
|
Step 9:
Select the iris layer again and click Image--Adjust>Hue and Saturation.
Click the colourise checkbox and more the sliders until you get a
realistic iris colour that your happy with,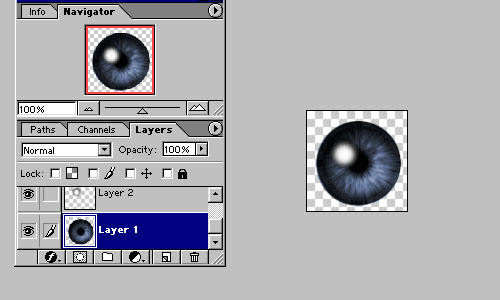
|
|
|
Step 10 (optional):
If you look at someones eyes you will see irises are rarely only one colour
and never uniform saturation. By selecting spidery areas like the
one shown below and fiddling with the hue and saturation of those areas,
you can give the iris an even more realistic colour.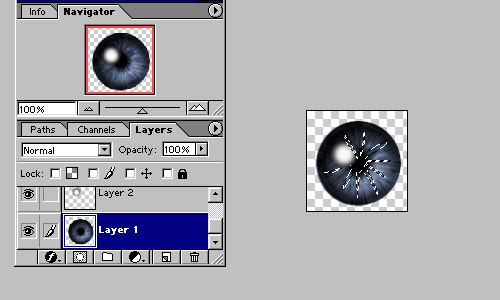
|
|
|
Step 11:
Your iris is now complete and ready for use. You may want to blur the
edges slightly so it sits more comfortably in the eye without looking so detached.
I made the below image with this tutorial and also Jezebel's 'Drawing the Human Eye'
tutorial. Therefore if you have some basic knowledge of Photoshop and
you are able to follow instructions, you should be able to sreate eyes of
this standard.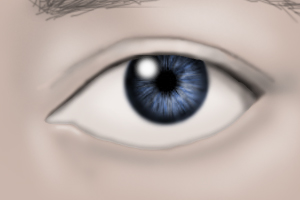
|
|
|
| This is not a finished product, please
dont pass it off as one. A tutorial seeks to inform you on how to achieve
an effect, do not leave it as the end result of this, go a step further, experiment.
Be creative, try try to expand your boundaries. With a little
bit of time and effort, you will be able teach yourself how to further these
effects and use them to the greatest of your ability. |
|
|
| deviantART Tutorial
Submission by the-faun If you have any queries about this tutorial, simply leave a comment or note me via my user page. For more of my favourite tutorials, see this pack. |